

Deep Stone Crypt (D.S.C)
|back
Beyond light was a bit of a doozy, but this raid certainly doesn't have to be! Let's get into it shall we?
Encounter 1: SRL, but it's REALLY cold...
The sparrow part of this raid is evidently the most difficult, SEE THE MAP BELOW TO TRIVIALIZE IT!

Encounter 2: Crypt Bouncers
!! USE A PRECISION HEAVY WEAPON LIKE XENOPHAGE !!
For the whole DSC raid, there will be 3 constant "roles" teams can cycle through, they are...

I will color them according to the image above!
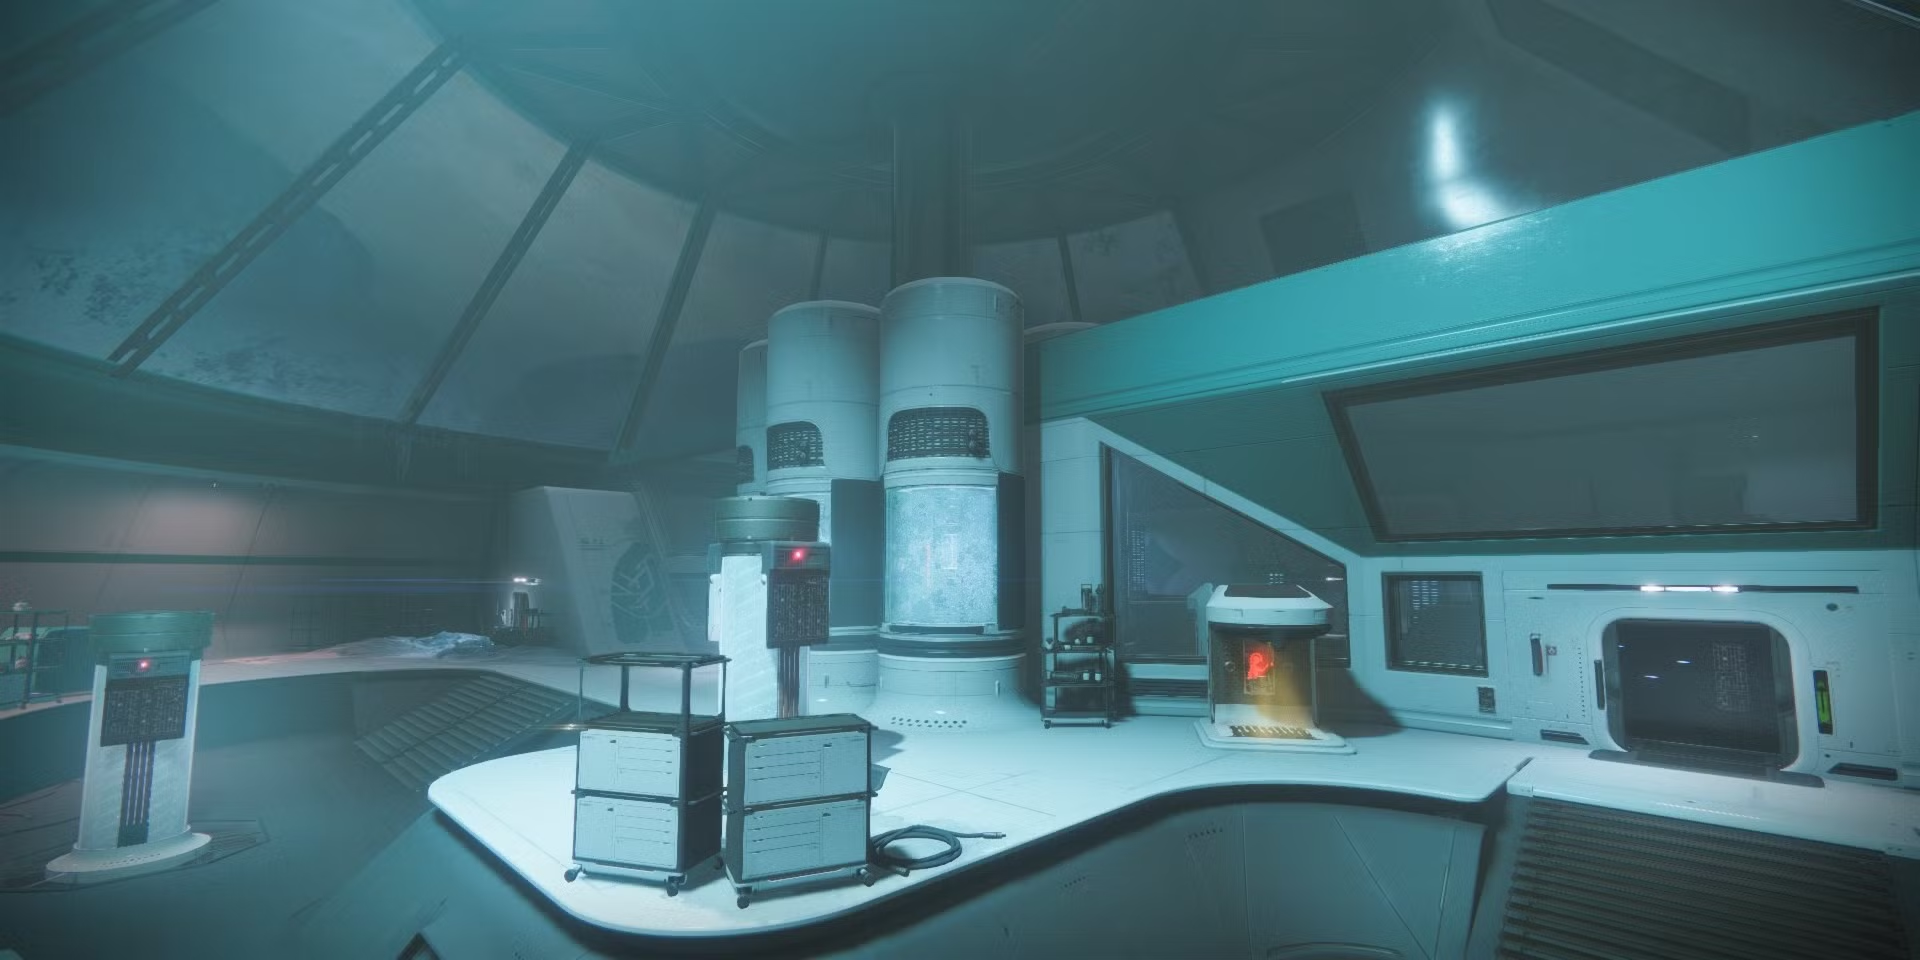
For the Crypt Security encounter, you will see both a light, and dark room with batteries in the middle on both sides that must be destroyed in order to progress the raid to the next encounter.
The group will divide into 2 teams of 3, one on the light side, and one on dark.
To start the encounter, a designated person on the dark side will pick up the Operator role from the terminal located on the wall that has the batteries.
As the encounter starts, both teams will need to kill servitors on their respective sides to progress the encounter, when they are dead, a vandal with the Scanner role will spawn in on the dark side, once dead, a designated player can pick the role up, and head towards the airlock that will lead to the basement.
To open the door to the airlock, the pad on the side of the door will need to be shot by the player with the Operator role. (This will be a reoccuring theme throughout the entire raid), as a note, the pads mentioned below will ALSO be red, and will continue to be so the whole raid!
As the player with the Operator role enters the basement, the Scanner will begin to read out panels that the Operator> must shoot from within the basement to begin the damage phase.
Each side (both light, and dark) has 3 total panels that must be shot by the Operator role (The 4 are chosen at random from a group of 5 on each side respectively, see the maps below for their locations!)
Each side (both light, and dark) has 3 total panels that must be shot by the Scanner role (The 4 are chosen at random from a group of 5 on each side respectively, see the maps below for their locations!)


Example:
Operator enters the basement, and approaches the dark side. The Scanner will now read from above what panels are currently glowing yellow for them, the Operator will then shoot them (totalling 4), and begin to move to the light side.
At this point, the Scanner on the dark side can now pass the Scanner role back into the original terminal that was used to start the raid, a designated player on the light side will then repeat the process detailed above for the other side, which will then initiate the damage phase on the batteries.
Damage Phase
Now that the shields that block the batteries have fallen, the Operator should insert their buff into the terminal located in the basement, at which point a player from either side upstairs can now take the Operator buff from their designated terminal, as long as the buff remains upstairs, that is what matters!
Now, to know which batteries to shoot (and in which order) the Scanner buff must be passed through the terminal on either upstairs side to the basement, the player downstairs should now acquire the Scanner buff from the terminal, and read out which battery is glowing yellow on either respective side, (6 batteries = 6 callouts to the rest of the team upstairs)
If a battery is incorrectly destroyed (I.E destroyed when the downstairs diagram is NOT glowing), it will wipe the encounter and force a reset from the start.
If the damage phase is not completed within the alloted damage timeframe, it is rinse and repeat with the 2 buffs! Get that player out of the basement, and enjoy your hard earned loot once all batteries are destroyed! :)
Encounter 3: Cheeseraks-1
Atraks-1 is a generally very easy boss in the DSC raid! For this encounter you will need 2 things, regardless of your chosen class:
- High burst damage supers (Thundercrash, Blade Barage, Nova Bomb, etc.)
- Consistent follow-up heavy DPS (Parasite with x20 stacks, Lament with combo atttack)
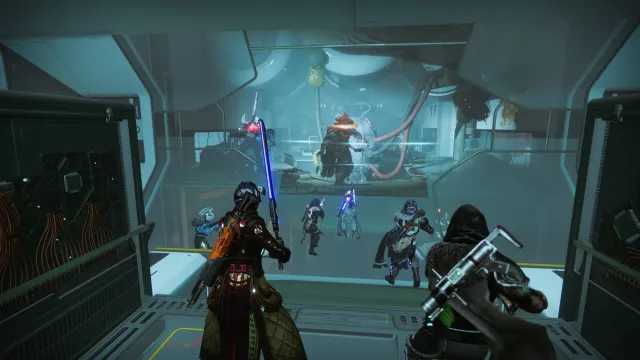
The following maps will prove crucial for interpretation of this encounter, the fireteam of 6 players will divide into 2 initial teams of 3!
3 players will remain on the ground floor of the encounter (where you start)

The 3 other players will ride the elevators behind Atrak's initial position (the purple glowing orb you need to approach to start the encounter) up towards the space station

This encounter is made trivial by having all 6 fireteam members end up in the space station portion of the map, which allows for super high DPS, allowing a 1 phase of the encounter as whole, but... how?
After the encounter has started, and the 3 initial fireteam members have ridden up to the space station, the ground team will have the task of acquiring the Operator buff from a vandal that will spawn alongside 2 servitors
These servitors are crucial, as to begin DPS, the 4 that spawn around the map (2 on ground level, 2 on space station) must be dead. For this method, we will leave the servitor which spawns in the top right section of the space station alive until all 6 players arrive there via the elevators. All others can be killed.
Once the servitors, and buff are acquired downstairs, the designated Operator will shoot the glowing red panels next to the elevator stalls that are stuck upstairs, this will allow the 3 ground level players to ride up to join the rest of the team.
The same should have happened for the space station team as well, except, with the Scanner buff (I.E, 2 servitors, add clear, vandal spawns, buff is acquired and ready to go)
The same should have happened for the space station team as well, except, with the Scanner buff (I.E, 2 servitors, add clear, vandal spawns, buff is acquired and ready to go)
With both buffs acquired, and the whole team now in the space station, the final servitor can be killed to initiate the damage phase...
Damage Phase
DPS is very simple for Atraks-1, the Scanner will look around the room to see which Atraks clone is glowing yellow. Once found, the fireteam will count down from 3, and unleash DPS in this order:
- Super
- Heavy weapon of choice
If enough damage is done to get Atraks-1 to final stand, ensure the clone orb (same as one downstairs that start the encounter) is picked up and on a player to avoid wiping pre-maturely, the process will repeat with more chaos. Check to see which is glowing, and finish it up! :)
*Note: If the final stand portion of the health bar isn't reached, wipe, and repeat all steps until it is, too complicated otherwise!
Encounter 3.5: Depressive Spacewalk
It is crucial that you have your music set to 100% volume, and the discord chat muted until this is done, you cannot afford to miss this masterpiece of music. TRUST. ME.
Encounter 4: Taniks!... Wait didn't we kill him already?
Once the spacewalk is done (sadj), players have now arrived at the second-last boss of this raid, which is also technically the last boss of the raid, but we will get there when we get there.
See map of the encounter below, this one is for sure the most complicated, but the idea transfers over 100% to the next, so pay attention!

This encounter centers around all 3 buffs (I finally get to use my Suppressor tag!) The ideas of the 3 are as follows:
- Operator: Deactivate 1 of 3 total nuclear cores (bombs) that spawn from terminals around the map (nuke symbols above)
- Scanner: Scan L1, L2, R1, and R2 in the middle of the map to see where the bombs are to be deposited (central, and stationary)
- Suppressor: Suppress Taniks from underneath the 3 faded blue spheres around the map above (central, and stationary)
To start, shoot Taniks and the encounter will begin with adds spawning all over. Eventually, the 3 buff vandals will spawn in with Operator, Scanner, and Suppressor all 3 will be in use throughout all phases of the encounter with 1 caveat I will note later!
After all 3 buffs are acquired, Taniks will initiate a nuclear protocol, and spawn in 3 bombs around the map. At this time, 3 things will happen:
- Operator will shoot 1 of the 3 glowing panels around the map (found next to the nuclear core spawns), these change every phase, so be on the look out!
- Scanner will read the center deposit bins for the cores (L1, L2, R1, R2, like a controller ;) ) and tell the runners (anyone without the scanner buff) where to bring the bombs once they have spawned.
- Suppressor will shoot Taniks from underneath the 3 designated orbs in the center of the map (left and right are on the 2nd level of the map, middle is on the ground floor) this will surpress him from shooting, and allow the bombs to be deposited (they CANNOT be desposited until he is suppressed)
CAVEAT!
Once the 2 orbs are deposited in the bins, a buff will be "deactivated" from one of the holders. This is how you know you are progressing the encounter, as Taniks doesn't have a health bar to damage.
Whichever buff is deactivated will need to be passed to another player who does not actively hold a buff using the terminals found in all encounters before.
Aaand... thats about it! Rinse and repeat the steps above until extinction protocol is activated, and you can drop down through the center of the map, and run like hell before the space ship crashes down onto Europa!
Encounter 5:Taniks!... Are we SERIOUS?? HE'S STILL ALIVE?
Well well well, if it isn't Taniks3! Time to end this bruh
In essence, this encounter on Europa's surface is around 80% similar to the previous. (I.E, runners grabbing bombs, and depositing them. Suppressor doing their thing under the 3 orbs, etc.
Where this differs if the following:
- Scanner is no longer a useful buff with the 4 core strat, so it's essentially a promoted runner as they have a buff which obviously makes them superior in multiple ways to the Larry's of the fireteam
- Operator is no longer shooting panels, but instead shooting those who are grabbing the cores from being detained by Tanik's in an immovable bubble (this ability goes away once Taniks is suppressed, but still occurs no less than 2 times regardless of that fact)

The team starts off by going into 3 groups of 2 to the respective areas in the map above (Home Depot - Suppressor, Lowes - Scanner, and Spawn - Operator)
To start the encounter, approach Taniks who is stuck under a pile of junk in the middle of the map like a fat chud.
Clear adds, acquire buffs from the designated zones of the map, and Taniks will start to move towards either Home Depot, Lowes, or Spawn, this is important as the following is now established:
- The found deposit spots for the cores are wherever Taniks ISN'T
- Say Taniks goes to Spawn, that means the runners who will grab the cores (runners = anybody who is NOT Suppressor or Operator) will go to the 4 deposit spots at Lowes, and Home Depot (2 at each, number yourselves from 1-4, which is the established clockwise from where Taniks is currently, 1 in this case is the left-most deposit station at Lowes, following by 2, then 3 and 4 at Home Depot)
To obtain the cores, Taniks' 4 spider leg things will glow... SHOOT THEM!! This will cause the 4 bombs to drop, which are then deposited into the runner's designated spots (1-4)
At this time Suppressor can now stand under the 3 orbs that surround Taniks' location similar to the encounter before this, this will prevent Taniks from doing the following step:
Before depositing the runners will likely be stopped by Taniks' attack before DPS in a massive purple ball that will not allow them to move until shot at by the Operator
Once all 4 cores are deposited, gather at THIS EXACT SPOT FOR SOME REASON:

Taniks will start a whirlwind of junk around him, which you should NOT get hit by (instant kill), approach him once it is clear, and stand in between the 2 bubbles of junk to DPS him, use whatever you'd like, as long as you 1 phase! If you don't? Have fun wiping and repeating :D
In the event you reach final stand, continue to DPS Taniks. He will teleport from spot to spot around the map, ensure you keep up damage as to prevent a wipe, and enjoy running this 50 more times to obtain Eyes of Tomorrow (I kid you not, that is how long it took me to get that exotic)


